
開発をしているといろんなモジュール、言語のバージョンなどなどが混合し自分のPCの状態がどうなってるか把握しづらくなってきますよね。そんな時は仮想環境を使いましょう。今回はDjangoでWebアプリケーションを作りたいという方向けにDockerで開発環境を作成する方法をまとめました!
(2019-10-13追記)nginxを入れて環境構築する方法を知りたい方はこちらの記事を参照してください。
前提
- ホスト環境はMac
- Dockerはすでにインストールされている
Dockerイメージ作成
ではまずPython + Djangoを使うためのDockerのイメージを作成していきましょう。
requirements.txt
djangoDockerfile
FROM python:3.7.4-alpine3.10
RUN mkdir -p /my_project
ENV APP_PATH /my_project
COPY requirements.txt $APP_PATH/
RUN pip install --no-cache-dir -r $APP_PATH/requirements.txt
WORKDIR $APP_PATH
やってること
- 容量が少ない `alpine`を使用
- requirementsに書いてあるモジュール群をインストール
イメージ作成実行
$ docker build -t my_app_django ./
Sending build context to Docker daemon  3.072kB
Step 1/6 : FROM python:3.7.4-alpine3.10
 ---> 930a7e894675
Step 2/6 : RUN mkdir -p /my_project
 ---> Running in f8217642fe43
Removing intermediate container f8217642fe43
 ---> 1c6b25ab7d4f
Step 3/6 : ENV APP_PATH /my_project
 ---> Running in 7bb92b8b8af3
Removing intermediate container 7bb92b8b8af3
 ---> 53a2ccacc2b8
Step 4/6 : COPY requirements.txt $APP_PATH/
 ---> ff35cbd63cc1
Step 5/6 : RUN pip install --no-cache-dir -r $APP_PATH/requirements.txt
 ---> Running in 21426a8d8c92
Collecting django (from -r /my_project/requirements.txt (line 1))
  Downloading https://files.pythonhosted.org/packages/d6/57/66997ca6ef17d2d0f0ebcd860bc6778095ffee04077ca8985928175da358/Django-2.2.4-py3-none-any.whl (7.5MB)
Collecting sqlparse (from django->-r /my_project/requirements.txt (line 1))
  Downloading https://files.pythonhosted.org/packages/ef/53/900f7d2a54557c6a37886585a91336520e5539e3ae2423ff1102daf4f3a7/sqlparse-0.3.0-py2.py3-none-any.whl
Collecting pytz (from django->-r /my_project/requirements.txt (line 1))
  Downloading https://files.pythonhosted.org/packages/87/76/46d697698a143e05f77bec5a526bf4e56a0be61d63425b68f4ba553b51f2/pytz-2019.2-py2.py3-none-any.whl (508kB)
Installing collected packages: sqlparse, pytz, django
Successfully installed django-2.2.4 pytz-2019.2 sqlparse-0.3.0
Removing intermediate container 21426a8d8c92
 ---> f2729b15bccd
これでイメージが作成されました。確認してみましょう。
$ docker images
REPOSITORY             TAG                       IMAGE ID            CREATED              SIZE
my_app_django          latest                    06ba9479513d        About a minute ago   129MB
my_app_djangoというイメージの作成が完了です。では次にコンテナ立ち上げ + Djangoプロジェクトの作成を行なっていきます。
$ docker run --rm --mount type=bind,src=$(pwd),dst=/my_project my_app_django:latest django-admin startproject this_is_my_app_name .lsしてみてください。新しくファイルが自動生成されていますよね。
$ ls
Dockerfile		manage.py		requirements.txt	this_is_my_app_name
これでdjangoプロジェクトらしくなってきましたね。では次にサーバをdockerで立ち上げて、ブラウザからアクセスできるようにします。後々のことを考えてここでは docker-composeを使ってやってみたいと思います。
docker-compose
version: '3.7'
services:
  django:
    restart: always
    build: .
    volumes:
      - ./:/projects
    command: /bin/sh -c "cd /projects; python manage.py migrate; python manage.py runserver 0:8000"
    ports:
      - 8000:8000
次のコマンドを実行してください。初回なので –buildを付与しています。
$ docker-compose up --build
Creating network "django_docker_default" with the default driver
Building django
Step 1/6 : FROM python:3.7.4-alpine3.10
---> 930a7e894675
Step 2/6 : RUN mkdir -p /my_project
---> Using cache
---> 1c6b25ab7d4f
Step 3/6 : ENV APP_PATH /my_project
---> Using cache
---> 53a2ccacc2b8
Step 4/6 : COPY requirements.txt $APP_PATH/
---> dc03e341253c
Step 5/6 : RUN pip install --no-cache-dir -r $APP_PATH/requirements.txt
---> Running in dabcff60e15a
Collecting django (from -r /my_project/requirements.txt (line 1))
Downloading https://files.pythonhosted.org/packages/d6/57/66997ca6ef17d2d0f0ebcd860bc6778095ffee04077ca8985928175da358/Django-2.2.4-py3-none-any.whl (7.5MB)
Collecting sqlparse (from django->-r /my_project/requirements.txt (line 1))
Downloading https://files.pythonhosted.org/packages/ef/53/900f7d2a54557c6a37886585a91336520e5539e3ae2423ff1102daf4f3a7/sqlparse-0.3.0-py2.py3-none-any.whl
Collecting pytz (from django->-r /my_project/requirements.txt (line 1))
Downloading https://files.pythonhosted.org/packages/87/76/46d697698a143e05f77bec5a526bf4e56a0be61d63425b68f4ba553b51f2/pytz-2019.2-py2.py3-none-any.whl (508kB)
Installing collected packages: sqlparse, pytz, django
Successfully installed django-2.2.4 pytz-2019.2 sqlparse-0.3.0
Removing intermediate container dabcff60e15a
---> 27d017bbd646
Step 6/6 : WORKDIR $APP_PATH
---> Running in 4d94101e1637
Removing intermediate container 4d94101e1637
---> 24508d432658
Successfully built 24508d432658
Successfully tagged django_docker_django:latest
Creating django_docker_django_1 ... done
Attaching to django_docker_django_1
django_1 | Operations to perform:
django_1 | Apply all migrations: admin, auth, contenttypes, sessions
django_1 | Running migrations:
django_1 | Applying contenttypes.0001_initial... OK
django_1 | Applying auth.0001_initial... OK
django_1 | Applying admin.0001_initial... OK
django_1 | Applying admin.0002_logentry_remove_auto_add... OK
django_1 | Applying admin.0003_logentry_add_action_flag_choices... OK
django_1 | Applying contenttypes.0002_remove_content_type_name... OK
django_1 | Applying auth.0002_alter_permission_name_max_length... OK
django_1 | Applying auth.0003_alter_user_email_max_length... OK
django_1 | Applying auth.0004_alter_user_username_opts... OK
django_1 | Applying auth.0005_alter_user_last_login_null... OK
django_1 | Applying auth.0006_require_contenttypes_0002... OK
django_1 | Applying auth.0007_alter_validators_add_error_messages... OK
django_1 | Applying auth.0008_alter_user_username_max_length... OK
django_1 | Applying auth.0009_alter_user_last_name_max_length... OK
django_1 | Applying auth.0010_alter_group_name_max_length... OK
django_1 | Applying auth.0011_update_proxy_permissions... OK
django_1 | Applying sessions.0001_initial... OK
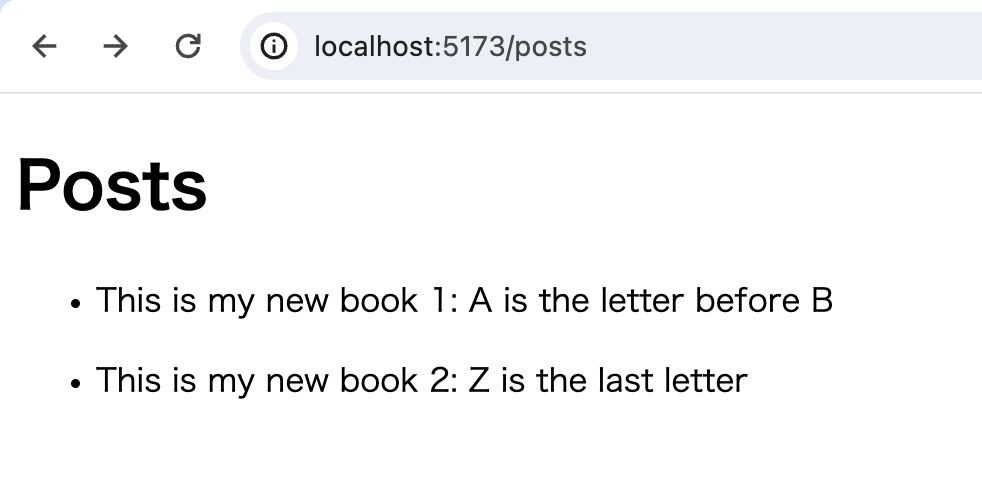
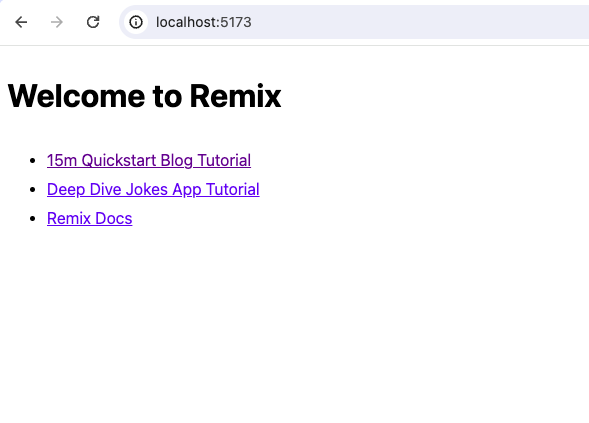
django_1 | Watching for file changes with StatReloaderここまで来たらOKです。では実際にアクセスできるかブラウザで localhost:8000を開いてみてください。下のような画面が出て来たら成功です!

最後まで読んでいただきありがとうございました!